Small entryways need big ideas. A well-chosen bench with storage turns a cramped landing zone into an organized drop point for shoes, bags, and everyday gear. Whether it’s a narrow hallway, a tight mudroom, or a corner by the front door, a compact bench can handle the clutter without eating up floor space. The right design offers seating for putting on shoes, hidden compartments for seasonal items, and a surface for keys or mail. No sprawling footprint required, just smart construction and thoughtful dimensions.
Table of Contents
ToggleKey Takeaways
- A small entryway bench with storage solves clutter, seating, and seasonal organization challenges in cramped spaces without requiring structural changes or major renovations.
- Optimal seat height is 17 to 19 inches, depth should be 14 to 16 inches, and width typically ranges from 36 to 48 inches—measure your entryway first to ensure at least 30 inches of clear walking space.
- Flip-top benches work best for bulky seasonal items like winter boots, while cubby-style benches suit multi-person households needing individual storage zones with easy daily access.
- Choose durable materials like solid wood (pine, oak, poplar) over particleboard, and prioritize enclosed or semi-enclosed storage to reduce visual clutter in tight spaces.
- DIY small entryway benches cost $60–$120 in materials and take 6–10 hours to build with basic tools, while store-bought options ($80–$400+) arrive ready but typically come in standard sizes that may not fit custom dimensions.
Why a Small Entryway Bench With Storage Is Essential
Most entryways collect chaos. Shoes pile up, backpacks slide into corners, and outerwear ends up on the floor. A small bench with storage corrals the mess into one functional piece.
It creates a designated landing zone. Instead of dropping things wherever there’s room, family members have a clear spot to stash boots, pet leashes, or reusable shopping bags. Hidden compartments keep visual clutter down, important in tight spaces where every square foot counts.
Seating matters more than people think. Bending over to tie shoes in a narrow hallway is awkward. A bench gives adults and kids a stable perch, which is especially helpful for anyone with mobility issues or balance concerns.
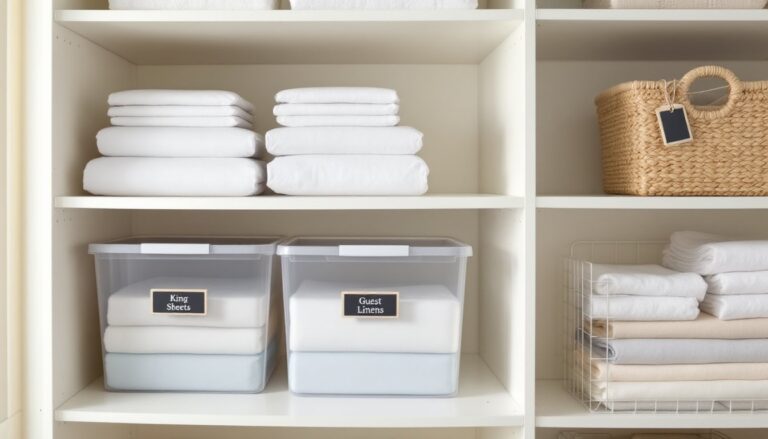
Storage benches also pull double duty in multi-use spaces. In rentals or small homes where the entryway doubles as a hallway or the only transition zone, a bench can hold winter gloves in January and sandals in July. Swapping contents seasonally keeps the space functional year-round.
Finally, a compact bench doesn’t require major carpentry or a building permit. It’s a non-structural addition that can be moved, repainted, or swapped out as needs change, ideal for renters or anyone testing layout ideas before committing to built-ins.
Top Features to Look for in a Space-Saving Entryway Bench
Not all small benches are created equal. The best ones pack in function without sprawling.
Depth matters most. Standard benches run 18 to 20 inches deep, but entryway models can work at 14 to 16 inches. Shallower depth means the bench won’t block doorways or create a tripping hazard. Measure the entryway width first, leave at least 30 inches of clear walking space to meet basic accessibility guidelines (per the International Residential Code).
Seat height should land between 17 and 19 inches. That’s the ergonomic sweet spot for most adults and older kids. Lower than 17 inches makes getting up awkward: higher than 19 inches turns it into a perch instead of a seat.
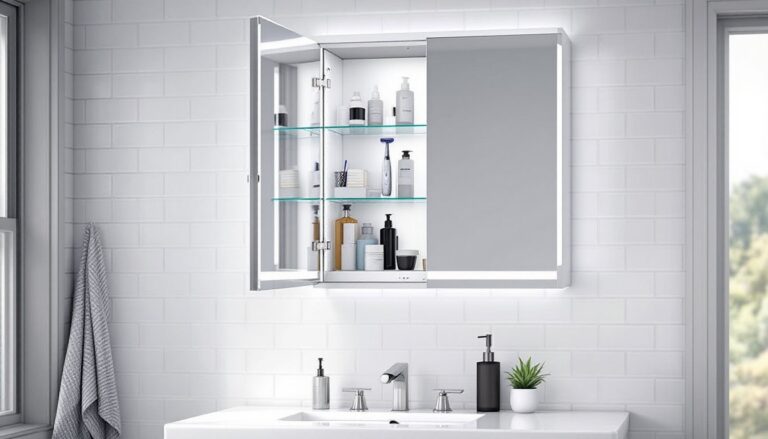
Look for enclosed or semi-enclosed storage. Open baskets look casual but let dust settle on shoes and gear. Flip-top lids or cabinet doors keep contents out of sight, which helps small spaces feel less cluttered.
Material durability is non-negotiable in an entryway. Benches take foot traffic, bag dumps, and the occasional wet boot. Solid wood (pine, oak, or poplar) holds up better than particleboard. If going with MDF or plywood, make sure it’s primed and sealed to resist moisture from wet shoes or humidity.
Some models include coat hooks or a top shelf. These add vertical storage without expanding the footprint. Hooks should be mounted into wall studs (not just drywall anchors) if they’ll hold heavy coats or backpacks.
Finally, check the weight capacity if it’ll see daily use. A bench rated for 250 pounds or more can handle adults sitting down hard or kids climbing on it, common wear in busy households.
Best Types of Small Entryway Benches With Storage
Flip-Top and Lift-Top Storage Benches
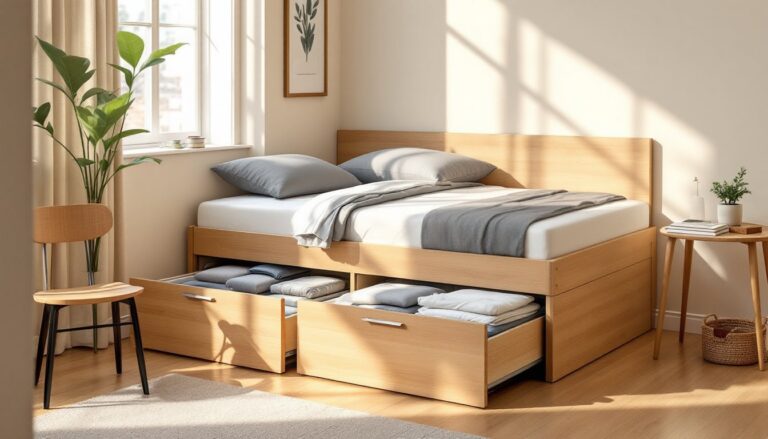
Flip-top benches offer a single large compartment under the seat. The entire top lifts on hinges, usually piano hinges or heavy-duty butt hinges rated for repeated use.
These work well for bulky items: winter boots, reusable grocery totes, or sports equipment. Because there are no dividers, you can fit oddly shaped gear that wouldn’t slide into cubbies.
The downside is access. To grab one item, you have to lift the whole lid. If someone’s sitting down, they need to stand up first. For households that rotate seasonal gear, this isn’t a problem. For daily-use items like shoes, it gets annoying.
Look for gas lift supports or soft-close hinges if building or buying one. Standard hinges can slam shut and pinch fingers, an issue if kids are around. Gas lifts hold the lid open at any angle, making it easier to dig through contents one-handed.
Construction-wise, the seat should be ¾-inch plywood or solid wood. MDF sags over time, especially on spans wider than 24 inches. If the bench is longer than 30 inches, add a center support cleat underneath the seat to prevent bowing.
Benches With Cubbies and Open Shelving
Cubby-style benches divide storage into individual compartments, usually two to four sections. Each cubby holds a basket, bin, or a single pair of shoes.
This design suits households where multiple people need separate zones. One cubby per family member keeps shoes from mixing and makes it easy to grab what you need without rummaging.
Open cubbies work best with fabric bins or wicker baskets. They soften the look and contain smaller items (gloves, dog leashes, sunglasses). Bins should be sized so they slide in and out without catching on the frame, leave about ¼ inch clearance on each side.
Building a cubby bench takes more cuts than a flip-top. You’ll need dividers between compartments, usually ½-inch plywood or 1×12 boards (which are actually ¾ inch thick). Dividers should be set into dado grooves or screwed and glued from the outside. Butt joints work but look unfinished unless you’re painting the whole piece.
Some homeowners appreciate plans from resources like Ana White, which offer beginner-friendly cubby bench tutorials with cut lists and assembly steps. Similarly, The Handyman’s Daughter provides clear guides for building divided storage benches using basic tools.
If cubbies are open on the front, add a toe kick (a recessed base) at the bottom. This prevents shoes or baskets from sticking out past the bench face and keeps the silhouette tidy.
How to Choose the Right Size and Style for Your Entryway
Start by measuring the actual footprint, not the wall. Use a tape measure to check width, depth, and ceiling height if the bench will have a tall back or hooks.
Width: Most small entryways can fit a bench between 36 and 48 inches wide. Measure the wall space, then subtract 6 inches to allow clearance on each side. A bench crammed wall-to-wall looks built-in but blocks airflow and makes cleaning a pain.
Depth: As mentioned, 14 to 16 inches works for tight spaces. If the entryway is also a hallway, keep the depth under 15 inches to maintain walkability. For corner installations, an L-shaped or angled bench can maximize space without jutting into traffic flow.
Height: Stick to the 17 to 19-inch seat height range. If adding a backrest or coat hooks, total height can go up to 60 inches, but only if ceiling clearance allows. Low ceilings (under 8 feet) make tall furniture feel oppressive.
Style should match the home’s interior, but function trumps aesthetics in an entryway. A farmhouse bench with distressed wood looks charming but might not hold up in a mudroom that sees snow and mud six months a year. In those cases, sealed hardwood or a painted finish (use exterior-grade primer for extra moisture resistance) works better.
For narrow entryways, a backless bench keeps sight lines open and makes the space feel larger. If the wall behind the bench is plain, consider adding wall-mounted hooks or a narrow shelf above the bench for keys and mail. Mount hooks into studs: drywall alone won’t support the weight of heavy coats.
Color choice affects perception of space. Light finishes (white, pale gray, natural wood) reflect light and make small areas feel airier. Dark stains or bold paint can look dramatic but may shrink the visual footprint, fine if the entryway has good natural light, risky if it’s a dim interior hallway.
DIY vs. Store-Bought: Which Option Fits Your Needs?
Store-bought benches offer speed and predictability. They arrive assembled or flat-packed with all hardware included. Prices range from $80 for particleboard models to $400+ for solid wood. Mid-range benches ($150–$250) typically use engineered wood with veneer, which looks decent and holds up if kept dry.
The downside is sizing. Retail benches come in standard widths, usually 36, 42, or 48 inches. If your entryway is 40 inches wide, you’re either leaving gaps or forcing a fit.
DIY benches allow custom dimensions and material choices. A basic flip-top bench can be built in a weekend with a circular saw, drill, and pocket hole jig. Material cost runs $60 to $120 depending on wood grade (pine is cheapest: poplar or oak cost more but resist dents).
For straightforward builds, plans from Fix This Build That walk through tool setup, cutting sequences, and assembly without assuming advanced carpentry skills.
Tools needed for a basic build:
- Circular saw or miter saw (for crosscuts and rip cuts)
- Drill with bits for pilot holes and countersinking
- Pocket hole jig (optional but makes joinery cleaner)
- Tape measure, speed square, pencil
- Clamps (at least two, preferably four)
- Sandpaper or orbital sander (120-grit and 220-grit)
- Paintbrush or foam roller for finish
Safety gear: Eye protection, hearing protection if using power saws, and a dust mask when sanding or cutting MDF (which releases fine particulates).
DIY makes sense if you have tools already or want a specific size. It’s also the better route for learning joinery and finish techniques. Store-bought wins if time is tight or if carpentry feels intimidating.
One hybrid option: buy an unfinished bench and customize the finish. Some retailers sell raw wood benches for $100–$150. Adding paint, stain, or new hardware (drawer pulls, hinges) personalizes the piece without requiring full construction.
Finally, assembly time matters. A store-bought bench takes 30 minutes to an hour to unbox and assemble. A DIY build, including cutting, assembly, sanding, and finishing, spans 6 to 10 hours over two days (mostly waiting for glue or paint to dry). Plan accordingly.