Bathrooms are often the smallest rooms in the house, yet they’re expected to hold towels, toiletries, cleaning supplies, and a surprising amount of daily-use items. When floor space is tight, standard cabinets and freestanding shelves won’t cut it. That’s where slim bathroom storage comes in, narrow, vertical, and often overlooked solutions that maximize every inch without crowding the room. Whether working with a powder room, a shared family bath, or a cramped rental, these space-saving options deliver function without sacrificing accessibility.
Table of Contents
ToggleKey Takeaways
- Slim bathroom storage solves the challenge of maximizing space in small bathrooms by using narrow, vertical units that fit into gaps without blocking doorways or crowding the room.
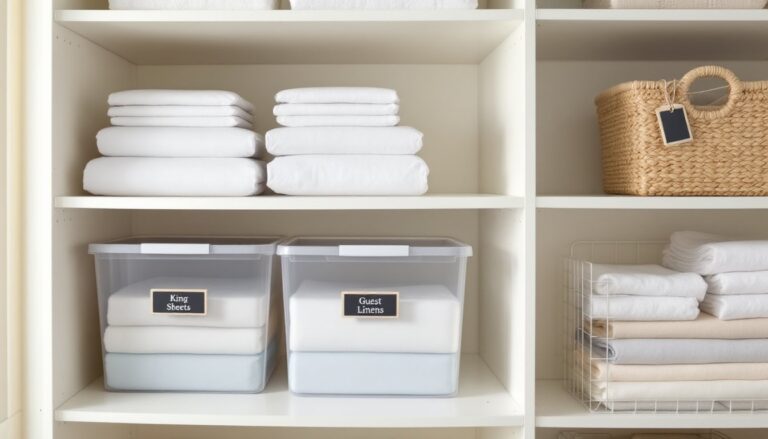
- Vertical towers, rolling carts, and corner cabinets keep frequently used items like toiletries and towels within arm’s reach while reducing clutter on countertops and under-sink cabinets.
- Choose storage materials based on moisture levels: sealed wood or moisture-resistant MDF outperform unsealed particleboard, and wire or metal shelves prevent mildew buildup better than solid surfaces.
- Proper installation and safety require anchoring tall slim cabinets to wall studs with L-brackets, measuring for obstacles and door swings, and reserving daily-use items for shelves between 36 and 60 inches from the floor.
- DIY slim bathroom storage options like custom shelf units, converted wire carts, recessed niches, and PVC pipe holders cost $20 to $150 and work well for renters or anyone needing flexible, personalized solutions.
Why Slim Bathroom Storage Is Essential for Modern Homes
Modern floor plans often sacrifice bathroom square footage to open up kitchens and living areas. The result: bathrooms that measure 5×8 feet or smaller, where a standard 18-inch-deep vanity eats up most of the usable floor space. Slim storage units, typically 6 to 12 inches deep, fit into gaps beside toilets, vanities, or tubs without blocking doorways or creating pinch points.
Beyond fitting tight spaces, slim storage keeps frequently used items within arm’s reach. A narrow rolling cart next to the shower holds shampoo, razors, and washcloths without requiring a reach across the room. A vertical tower beside the toilet stacks toilet paper, cleaning supplies, and extra towels at eye level. These setups reduce clutter on countertops and eliminate the need to dig through under-sink cabinets.
Slim storage also works in bathrooms where plumbing, windows, or oddly placed doors limit wall space. A 6-inch-wide cabinet slides into the gap between a vanity and a wall, while a 10-inch rolling cart tucks under a pedestal sink when not in use. For renters, these solutions require no drilling or permanent installation, most are freestanding or use removable adhesive mounts.
In shared bathrooms, slim storage helps divide supplies by user. A multi-tier rolling cart can dedicate one shelf per family member, while a narrow tower with pull-out baskets separates daily toiletries from bulk backup stock. This organization reduces morning traffic jams and keeps surfaces clear.
Best Types of Slim Bathroom Storage Solutions
Vertical Slim Cabinets and Towers
Vertical cabinets maximize height while keeping a minimal footprint. Most measure 60 to 72 inches tall and 10 to 14 inches deep, with three to five shelves behind closed doors or open cubbies. Look for units with adjustable shelves, they accommodate tall bottles, stacked towels, or cleaning spray bottles without wasted vertical space.
Materials matter in humid bathrooms. Solid wood or plywood cabinets with a sealed finish resist warping better than particleboard, which swells when exposed to moisture. For budget-friendly options, choose moisture-resistant MDF or plastic laminates rated for bathroom use. Avoid unfinished wood or units with exposed particleboard edges.
Many slim cabinets include a mix of open and closed storage. Open shelves at the top hold decorative baskets or folded towels, while closed lower shelves hide less attractive items like toilet brushes or backup supplies. Some towers feature pull-out drawers instead of fixed shelves, which make it easier to access items at the back without unloading the entire shelf.
For tight corners, consider a corner tower. These triangular units fit into 90-degree angles beside tubs or vanities, using space that’s otherwise dead. Most corner towers measure 10 to 12 inches per side at the base and taper slightly toward the top.
Installation is straightforward: most towers arrive fully assembled or require only shelf insertion. Anchor tall cabinets to wall studs using an L-bracket at the top to prevent tipping, especially in homes with children or pets. Use a stud finder to locate solid backing, and secure with 3-inch wood screws into the stud, drywall anchors alone won’t support a loaded cabinet.
Rolling Slim Carts and Organizers
Rolling carts offer flexibility that fixed cabinets can’t match. A 3- to 5-tier cart measuring 4 to 8 inches wide fits beside a toilet, vanity, or tub and rolls out for cleaning or access. Most carts feature wire or perforated metal shelves that resist moisture buildup and allow air circulation, reducing mildew on stored items.
Casters make the difference between a useful cart and a frustrating one. Look for carts with locking wheels on at least two corners to prevent rolling during use. Opt for rubber or polyurethane wheels instead of hard plastic, they roll smoother on tile and won’t scratch vinyl or laminate floors.
Carts with removable bins or baskets allow users to carry supplies to another room or reorganize without emptying shelves. Some designs include S-hooks on the sides for hanging washcloths, loofahs, or small caddies. Others feature a top tray for frequently grabbed items like hand soap or cotton swabs.
For households with small children, choose carts with rounded corners and avoid models with sharp metal edges. If storing cleaning chemicals or razors, opt for a cart with at least one closed bin or add a small locking box on a lower shelf.
Rolling carts work especially well in skinny storage cabinet setups where portability matters more than a built-in look. They’re ideal for renters or anyone who rearranges bathroom layouts frequently.
How to Choose the Right Slim Storage for Your Bathroom
Start by measuring the available space, height, width, and depth. Bathrooms often have hidden obstacles like baseboard heaters, protruding trim, or outlets that eat into usable depth. Measure from the wall to the nearest obstruction, then subtract 2 inches for clearance. A unit that’s too tight won’t allow doors to open or drawers to extend fully.
Consider door swing. Standard bathroom doors open inward, which can block narrow cabinets placed too close to the entry. Measure the door’s swing arc and keep storage at least 6 inches beyond that path. For tight layouts, consider replacing a swinging door with a pocket door or barn door, both free up wall space and eliminate swing interference.
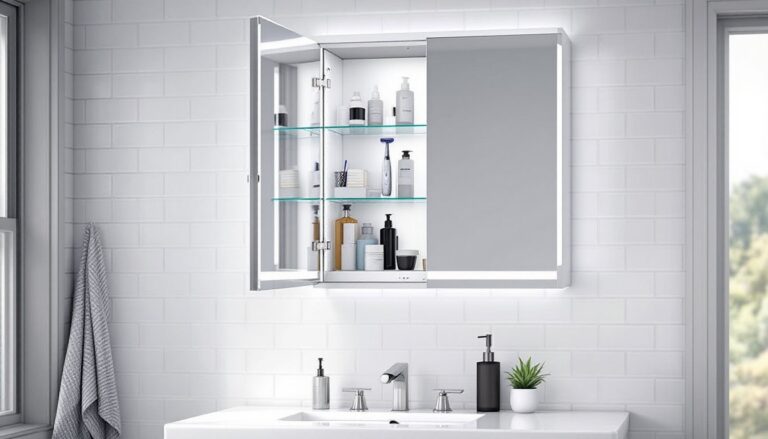
Evaluate the room’s moisture level. Bathrooms with showers or tubs and poor ventilation need storage built to withstand humidity. Many designers featured on Houzz recommend metal, plastic, or sealed wood over unsealed MDF or particleboard in high-moisture zones. If the bathroom lacks an exhaust fan, prioritize open shelving or wire racks that allow airflow around stored items.
Match storage type to contents. Heavy items like bulk toilet paper or gallon jugs need solid shelves rated for at least 20 pounds per shelf. Lightweight toiletries work fine on wire or plastic shelves. If storing glass bottles or breakables, choose units with raised edges or lips to prevent items from sliding off.
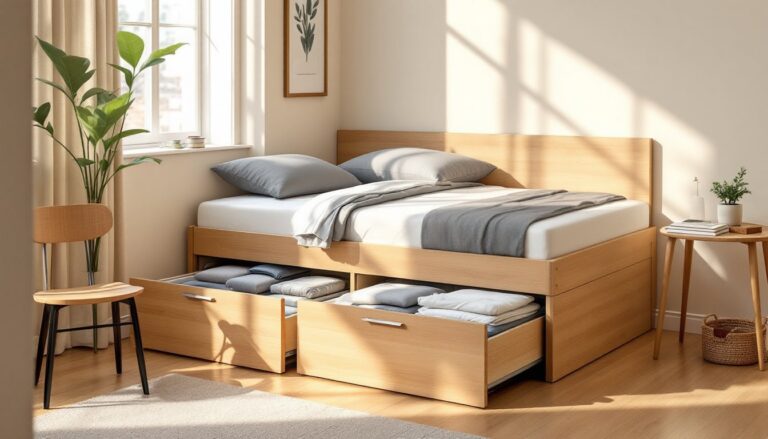
Think about accessibility. Top shelves above 72 inches are hard to reach for most users, reserve those for rarely used items or seasonal supplies. Place daily-use items between 36 and 60 inches from the floor, where they’re easy to grab without bending or stretching. For households with mobility concerns, prioritize pull-out drawers or rolling carts over fixed deep shelves.
Finally, check load-bearing requirements. Freestanding units need no special support, but wall-mounted slim cabinets require backing. Drywall alone won’t hold a loaded cabinet, anchor into studs or install a horizontal backer board between studs during a remodel. For tile walls, use masonry anchors rated for the cabinet’s weight plus contents.
DIY Slim Bathroom Storage Ideas on a Budget
Building custom slim storage costs less than buying ready-made units and allows exact sizing for odd spaces. A simple vertical shelf unit requires a 1×6 or 1×8 board (actual dimensions ¾ × 5½ inches or ¾ × 7¼ inches), cut into shelf lengths and uprights. Use wood glue and 1¼-inch brad nails or pocket screws to assemble, then mount to wall studs with L-brackets.
For a budget-friendly rolling cart, repurpose wire shelving units. Cut a 24- to 36-inch section from a wire closet shelf using bolt cutters or a hacksaw, then attach inexpensive swivel casters with self-tapping screws. Spray paint the cart with rust-resistant enamel rated for bathroom use, white, black, or metallic finishes blend with most decor.
Recessed niches offer built-in slim storage without sacrificing floor space. During a remodel or if walls are open, frame a 4- to 6-inch-deep niche between studs using 2×4 framing and line it with moisture-resistant drywall or cement board. Tile the interior to match the shower or wall, and add glass or wooden shelves supported by shelf pins or brackets. This approach works especially well in shower walls for shampoo and soap storage, as featured in many bathroom storage ideas on design sites.
Safety note: Cutting into walls requires checking for electrical wiring, plumbing, and HVAC ducts. Use a stud finder with wire detection and consider hiring a licensed electrician or plumber if uncertain. Load-bearing walls require engineered headers, consult a structural engineer before cutting studs.
PVC pipe storage offers a modern, industrial look at low cost. Cut 4- to 6-inch PVC pipe into 6- to 8-inch lengths using a miter saw or hacksaw, sand the cut edges smooth with 120-grit sandpaper, and mount the rings horizontally to a backer board using pipe clamps or construction adhesive. These make excellent holders for rolled towels, hair tools, or toilet paper.
For renters or anyone avoiding wall damage, adhesive-mounted shelves work in low-moisture areas. Choose heavy-duty adhesive strips rated for bathroom use and at least 5 pounds per strip. Clean the wall with rubbing alcohol before applying, soap residue or moisture prevents adhesion. Avoid placing adhesive mounts directly above tubs or in shower spray zones, where constant moisture weakens the bond.
Repurpose a vintage ladder as leaning storage. Sand any rough spots, seal bare wood with polyurethane or exterior-grade varnish, and lean it against the wall at a 75-degree angle. Drape towels over the rungs or hang S-hooks for baskets. For stability, attach the top rung to the wall with a small L-bracket.
Materials costs for DIY projects vary by region and lumber grade, but expect to spend $20 to $60 for a basic shelf unit, $10 to $30 for a rolling cart conversion, and $50 to $150 for a tiled recessed niche, not including labor or specialized tools. Prices fluctuate with market conditions, check local lumber yards for better deals than big-box stores, especially on dimensional lumber and plywood.
Conclusion
Slim bathroom storage transforms cramped spaces into organized, functional rooms without requiring a full remodel. Vertical towers, rolling carts, and DIY solutions fit into gaps standard cabinets can’t touch, keeping supplies accessible and surfaces clear. Small-space enthusiasts at Apartment Therapy regularly showcase how narrow storage turns awkward corners and tight walls into hardworking zones. Measure carefully, match materials to moisture levels, and anchor tall units to studs for stability, those three steps prevent most DIY storage failures.